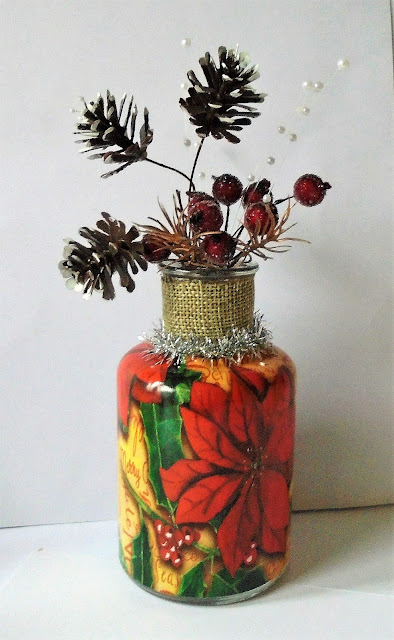
Happy Friday and Happy Christmas
I have been super busy lately making up samples for todays
Pinflair show on Create & Craft with the lovely Jo
who will be on your screens at 1.00pm ~2.00pm
~~oo~~
The whole team have been busy little Elves and had a wonderful time with lots of fun along the way
This will be a long post so why not grab a Hot Chocolate, a Gingerman Biscuit and soak up Christmas.....
Lets start with the Pinflair Shrink Wrap Collection
WOW simply amazing
Just pop around your bauble , into freshly boiled water (taking lots of care here) using some tongs - and voila after seconds you have an amazing bauble
I have never used this shrink wrap I was absolutly amazed how easy it was and how stunning it looked
I also used some Puff Paste on this
Here is a trio I made , making them little gift boxes how nice would these be to give to friends
There are so many different designs , I really am thinking Teachers gifts here
I made the little boxes from Kraft card and added in some rafia also using this too tie the boxes also.
Making some little tags and adding some tiny bells
~~oo~~
Keeping on with the shrink wrap they also do sleeves!! Eeeks you can decorate your own wine bottles how cool is that
I did not have any wine bottles to hand but I did have a little liquore brandy bottle (quite partial to a drop of Brandy! and it is Christmas after all)
I cut the wrap down to fit
A table decoration was born
~~oo~~
My next make was using a Poly ball
I covered this in Puff Paste and left to dry
I already had a circular poly frame so I made some Poinsetta flowers and covered it
I then Painted up the little deers from the Pinflair MDF Embellishment kit. For the paint I used
Pinflair Liquid Buff-It every crafter needs this in there life!!
~~oo~~
Then I played with the Pinflair Bauble tree
I was so , so in love with these
The first one I used Pinflair Liquid Buff-It and painted it , I think I may of used Emerald Green
I then used Gellitex through a star stencil, this was a little hard to see in the photo, but promise its there
I added a little tinsel and some silver stars
For the base I used Puff Paste as it was quite a big coating I left to dry over night
I used those scrummy reindeers that I used in my previous project from the Pinflair MDF Embellishment kit.
I then decorated my Bauble using Pinflair Shrink Wrap Collection and added lots of gemstones for the extra sparkle
I added some little lights which also sit inside the bauble it looks so twinkly at night.
My other tree I did for some strange reason I do not have a seperate photo of it
Again I used Pinflair Liquid Buff-It to paint and used Puff Paste to edge around and do the base. I also used the Pinflair MDF Embellishment kit for the smaller tree's and sign . I used a few random baby pine cones that I had in stash and just added a smidge of snow to each.
I made and added a matching Bauble as before
~~oo~~
For my final make I call it random, Using lots of bits and pieces from the kits and of course lots of snow
I love the tree's I can see them as lovely little place names at the Christmas dinner table
I hope you have enjoyed my makes and will manage to catch the show
I love working with the Pinflair team there so creative and the products are super duper wonderful
Thank you for stopping by
I Would love to Enter
CRAFT ~ Christmas
Crimbo Crackers ~ Anything Christmas
The Holly and Ivy Christmas Challenge ~ Christmas
TTCRD ~ Anything Goes
Crafting From The Heart ~ Anything Goes
Creative Fingers ~ Anything Goes
Jingle Belles ~ Santa or Helpers (Rudolph is there)
CRAFT ~ Christmas
Crimbo Crackers ~ Anything Christmas
The Holly and Ivy Christmas Challenge ~ Christmas
TTCRD ~ Anything Goes
Crafting From The Heart ~ Anything Goes
Creative Fingers ~ Anything Goes
Jingle Belles ~ Santa or Helpers (Rudolph is there)


